There’s something magical about a crepe cake’s delicate layers. Just thinking about it makes me excited. The thin, golden crepes and smooth fillings are irresistible.
I’ve always loved French desserts, and crepe cakes are my favorite. Seeing them in patisserie windows and on Instagram made me want to try making one. But, I thought it was too hard for a home cook like me. That was until I found out how easy it is to make a homemade crepe cake.
Table of Contents
Understanding the Magic Behind French Crepe Cakes
The mille crêpes recipe is a beloved French delicacy with a rich history. These delicate, paper-thin crepes have won the hearts and taste buds of people worldwide. Knowing their cultural significance helps us truly appreciate this remarkable dessert.
History of Mille Crêpes in French Cuisine
The mille crêpes’ origins date back to the 17th century. French chefs started making layered crepe dishes then. These early crepe-cakes were a luxury enjoyed by the aristocracy, showing off the country’s culinary skill.
Over time, the mille crêpes became a cherished part of French culture. It symbolizes France’s culinary excellence.
Why This Dessert Became a Global Sensation
The French crepe cake’s charm comes from its mix of textures and flavors. The thin crepes, filled with silky custards or rich whipped cream, offer a perfect balance. As French culture and cuisine spread globally, the mille crêpes became a sign of sophistication.
It inspired chefs and home bakers worldwide to make this delightful dessert.
Today, the mille crêpes still enchant and delight. They stand as a testament to French culinary traditions. Whether it’s a decadent treat or a special occasion centerpiece, this layered crepe-cake is a cherished part of French cuisine. It captivates the hearts and palates of food lovers everywhere.
Essential Ingredients for Perfect Crepe Cake
Making a delicious crepe cake needs the right mix of ingredients. The base of this French dessert is simple yet key. Let’s look at the must-haves for the ultimate crepe-cake.
The heart of a crepe-cake are the crepes. To make these thin pancakes, you need flour, eggs, milk, and butter. Flour gives structure, eggs add richness, milk adds moisture, and butter makes it rich.
| Ingredient | Purpose |
|---|---|
| All-purpose Flour | Provides structure and texture |
| Eggs | Adds richness, binding, and structure |
| Milk | Contributes moisture and flavor |
| Butter | Imparts a rich, buttery taste and texture |
| Sugar | Sweetens the crepe batter and filling |
The filling is also key in a crepe cake. It’s often a creamy custard or whipped cream. This mix creates a dessert that’s both harmonious and indulgent.
By choosing and mixing these crepe cake ingredients well, you’ll make a perfect crepe cake. It will wow your family and friends. Next, we’ll cover how to make these French treats.
Kitchen Tools and Equipment You’ll Need
Making a delicious crepe cake needs the right tools. You’ll need basic items like mixing bowls and whisks. Also, specialized pans and spatulas are key for that French dessert touch. Let’s look at the essential kitchen items for a great crepe cake.
Basic Equipment for Crepe Making
- Mixing bowls: You’ll need several medium-sized bowls for mixing the batter, whisking ingredients, and separating eggs.
- Whisk: A sturdy whisk is essential for blending the crepe batter until smooth and lump-free.
- Ladle: A small ladle or measuring cup will help you portion the batter evenly onto the crepe pan.
- Crepe pan or skillet: Invest in a high-quality, nonstick crepe pan or skillet for effortless crepe-making.
- Spatula: A thin, flexible spatula will allow you to easily flip and transfer the delicate crepes.
Special Tools for Assembly and Decoration
To take your crepe-cake to the next level, consider these specialized tools:
- Offset spatula: An offset spatula makes it a breeze to spread fillings and frost the top and sides of the cake.
- Turntable: A rotating cake stand or turntable will simplify the assembly process and help you achieve a perfectly even, professional-looking finish.
- Piping bags and tips: These tools allow you to pipe intricate designs, swirls, and patterns on top of your crepe cake for a stunning presentation.
- Cake leveler: Use a cake leveler to ensure your crepes are evenly stacked and your cake has a flat, even top.
With the right crepe cake tools and crepe making equipment at your fingertips, you’ll be well on your way to crafting bakery-quality crepe cakes right in your own kitchen.
| Basic Equipment | Special Tools |
|---|---|
|
|
Mastering the Basic Crepe Batter Recipe
Creating the perfect crepe cake recipe begins with mastering the basic crepe batter. This simple yet crucial part is the base of your tasty dessert. Let’s explore the details to make sure you get it right.
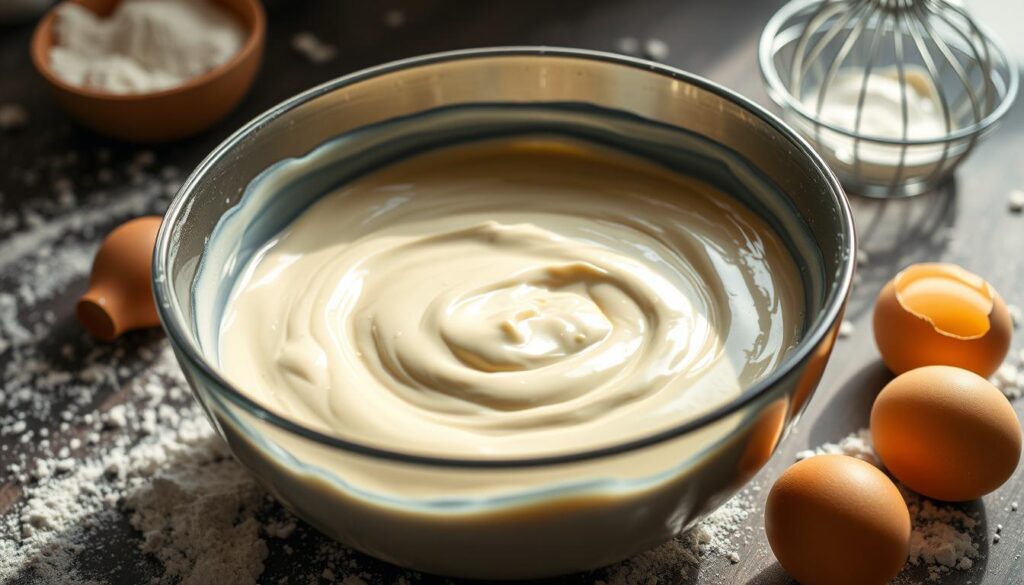
To make a successful crepe batter, you need to balance your ingredients. You’ll need flour, eggs, milk, melted butter, and a bit of salt. The goal is to mix these until you get a smooth, lump-free batter.
- Start by sifting the flour into a big bowl. This makes it light and removes clumps.
- Make a well in the center and add the eggs, milk, and melted butter.
- Whisk the mix until it’s thin and silky, with no lumps.
- Cover the bowl and chill the crepe batter in the fridge for at least 30 minutes. This step relaxes the gluten, making the crepes thin and delicate.
With this basic crepe cake recipe, you’re on your way to making French-style desserts. Remember, the key is to be patient and trust the process. The effort will be worth it when you see your perfectly layered crepe-cake.

“The secret to the perfect crepe is all in the batter. Take the time to let it rest, and you’ll be rewarded with paper-thin perfection.”
Tips for Creating Paper-Thin Crepes Every Time
Making perfect thin crepes is an art that needs practice. But with a few tips, you can make crepes as light as French lace. Let’s dive into some secrets to help you become a crepe expert.
Common Mistakes to Avoid
One big mistake is uneven batter distribution. This can make your crepes thick in some spots and thin in others. To avoid this, swirl the batter around the pan quickly and evenly.
Another mistake is overcooking the crepes. They should be cooked fast over medium-high heat. Cooking them too long makes them thick and leathery, not thin and tender.
Temperature and Timing Secrets
- Make sure your pan is preheated to 400-425°F (200-220°C) for the best results.
- Use a little butter or oil to grease the pan before adding the batter.
- Cook each crepe for 1-2 minutes on each side. Flip gently when the edges start to brown.
Mastering the right pan temperature and cooking times will help you make thin crepes every time. By following these crepe making tips, you’ll be making professional-quality crepes at home.
Delicious Filling Variations for Your Crepe Cake
Making a delicious crepe-cake is more than just the crepe batter. The real magic is in the fillings you choose. From classic pastry cream to adventurous options, there’s endless ways to make your crepe cake special.
One favorite filling is a rich pastry cream. This French custard adds a luxurious touch and sweet flavor. You can add vanilla, chocolate, or citrus zest for a twist.
Want to try something new? Fruit-based fillings are a great choice. Try fresh berries, tropical fruits, or roasted stone fruits. Pair them with whipped cream or mascarpone for a perfect balance.
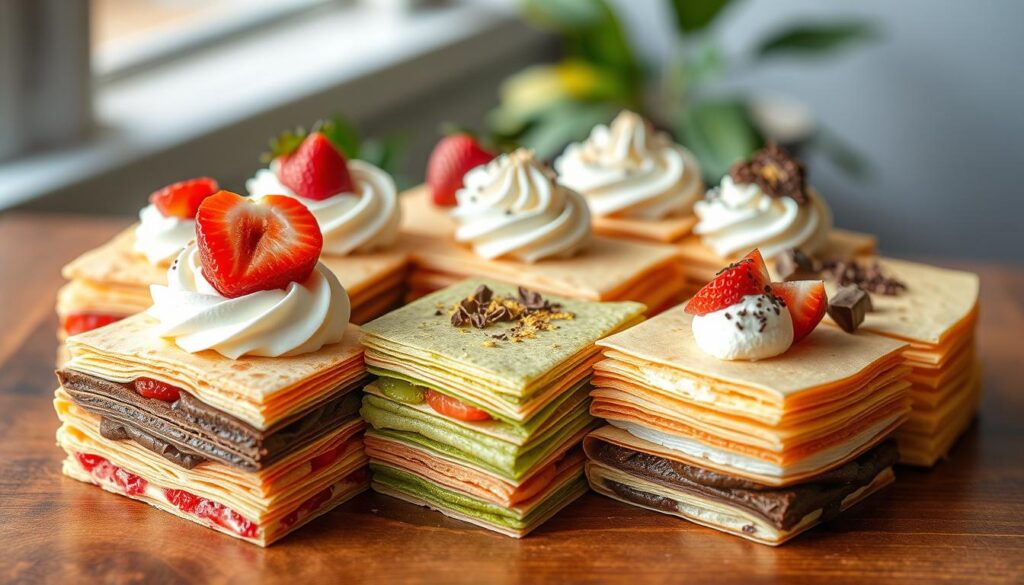
For a treat, use chocolate ganache or hazelnut spread. Or, try matcha green tea powder for a vibrant and sweet filling.
The world of crepe cake fillings is endless. With a bit of creativity, you can make a crepe-cake that’s all your own. It’s perfect for any occasion.
| Filling Variation | Flavor Profile | Complementary Pairings |
|---|---|---|
| Vanilla Pastry Cream | Rich, velvety, and classic | Fresh berries, chocolate shavings, caramel drizzle |
| Chocolate Ganache | Decadent, indulgent, and fudgy | Toasted nuts, fresh mint, a dusting of cocoa powder |
| Matcha Green Tea Cream | Earthy, subtly sweet, and vibrant | Red bean paste, sweetened whipped cream, toasted sesame seeds |
| Lemon Curd | Bright, tangy, and refreshing | Powdered sugar, fresh berries, a drizzle of honey |
Let your imagination run wild with crepe cake fillings. Try different flavors and textures. You’ll create a crepe cake that will wow your loved ones.
Step-by-Step Assembly Guide
Making a delicious crepe cake is an art that needs patience and detail. The secret to a beautiful, professional-looking cake is in how you assemble it. Let’s explore the step-by-step guide to layering crepes and crepe cake assembly like a pro.
Layering Techniques for Even Results
The base of a great crepe cake is evenly spreading the crepes and filling. Here are some tips for a perfectly layered cake:
- Begin by placing your first crepe on a flat surface, like a cake stand or serving platter.
- Spread a thin layer of your chosen filling on the crepe, leaving a small border around the edges.
- Place the next crepe on top, aligning the edges as well as you can.
- Keep adding layers, making sure each crepe is centered and the layers are even.
- End with a crepe on top for a symmetrical and appealing cake.
Troubleshooting Common Assembly Issues
Even skilled bakers might face some challenges during crepe cake assembly. Here are some common problems and how to solve them:
- Crepes sticking together: Dust each crepe with powdered sugar or cocoa powder before stacking to prevent sticking.
- Uneven layers: Take your time and align each crepe carefully. Use your fingers or a small offset spatula to adjust if needed.
- Filling oozing out: Use the right amount of filling and spread it evenly to the edges. If it’s too runny, add more thickener to the recipe.
With these tips, you’ll be able to make a stunning and tasty crepe cake that will wow your loved ones.
Creative Decoration Ideas and Presentation Tips
Making a crepe cake is just the start. The real magic comes when you decorate and present it. You can go from simple powdered sugar dusting to elaborate designs. There are countless ways to make your crepe-cake look amazing.
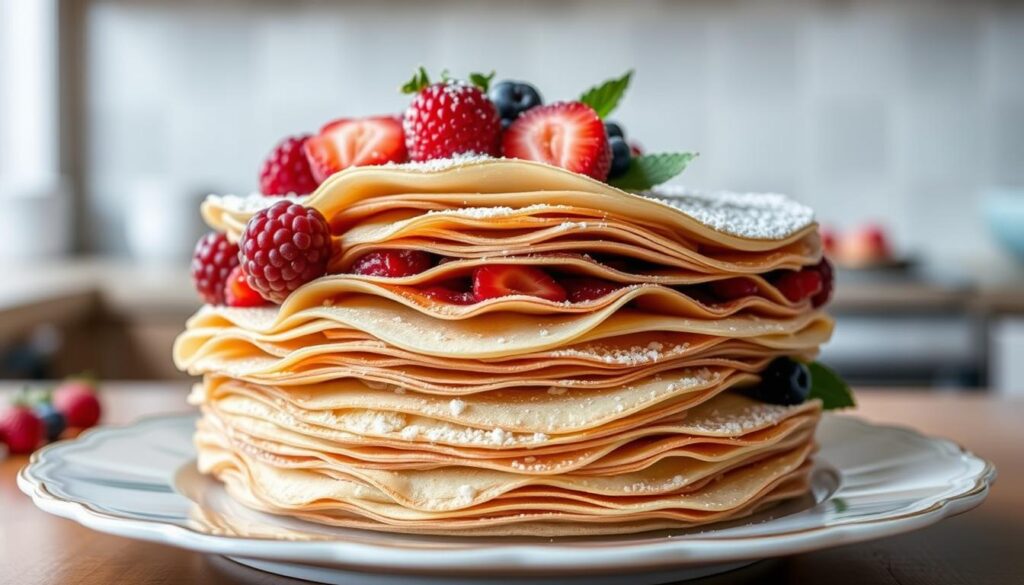
Adding a touch of elegance is easy with powdered sugar. Just dust the top of the cake with it. This creates a beautiful snow-like effect that shows off the crepes’ layers. You can also try sifting cocoa or cinnamon for a flavor twist.

Fresh fruit adds a stunning touch to your crepe cake. Arrange sliced strawberries, kiwi, or mango in a pretty pattern. For an elegant look, add edible flowers like rose petals or lavender.
Chocolate lovers will adore a drizzle of melted chocolate or shaved chocolate. Try different chocolates to find the perfect match.
Remember, the key is to have fun and let your creativity shine. Whether it’s a simple dusting or a detailed design, your crepe cake will be both delicious and beautiful.
How to Store and Serve Your Crepe Cake
Storing and serving your homemade crepe cake right is key. It keeps the cake’s texture and taste just right. Whether it’s a classic mille crepe or something new, these tips will make every bite special.
Proper Storage Methods
To keep your crepe cake fresh and moist, follow these steps:
- Make sure the cake is cool before you store it.
- Wrap the whole cake in plastic wrap or foil.
- Put the wrapped cake in an airtight container or on a plate and chill it.
- A crepe cake can stay fresh for up to 5 days in the fridge.
Best Serving Temperature and Timing
For the best crepe-cake experience, serve it at the right temperature:
- Take the cake out of the fridge about 30 minutes before you serve it.
- This lets the cake warm up a bit, bringing out its flavors and textures.
- Cut and serve the cake just before it’s time to eat for the best look.
By storing and serving your crepe cake the right way, it will always be a treat. Enjoy it with family or impress your guests.
Popular Flavor Variations: From Classic to Modern
Crepe cakes offer endless flavor options. From classic to modern, there’s something for everyone. Let’s dive into some traditional and new flavors that will excite your taste buds.
For fans of French cuisine, try a vanilla crepe-cake. It has layers of crepes with a smooth vanilla custard. Another favorite is the chocolate crepe cake, with chocolate ganache between the crepes.
Modern bakers are now experimenting with new flavors. The tiramisu crepe cake is a great example. It combines the Italian dessert with crepes, offering a rich and creamy experience.
The red velvet crepe cake is perfect for those who love a vibrant dessert. Its red crepes and tangy cream cheese frosting make it a standout.
| Flavor Variation | Description |
|---|---|
| Vanilla | Layers of delicate crepes with a silky vanilla bean custard filling |
| Chocolate | Rich chocolate ganache sandwiched between fragrant crepes |
| Tiramisu | Espresso-soaked crepes layered with a mascarpone-based filling |
| Red Velvet | Crimson-hued crepes with a tangy cream cheese frosting |
Whether you love the classics or want something new, there’s a crepe cake for you. Try these and other modern crepe cake recipes for a memorable dessert.

Making Japanese-Style Green Tea Crepe Cake
If you love the rich taste of Japanese green tea, you’ll adore our crepe cake. We mix matcha powder into the batter and filling. This blend of French and Japanese flavors will excite your taste buds.
Getting the crepe cake just right means balancing matcha’s earthy taste with the crepes’ light texture. With a few easy changes, you can make this vibrant dessert at home.
Infusing the Batter with Matcha Goodness
To get the cake’s green color and unique taste, add a tablespoon or two of matcha powder to the batter. Start with a small amount and adjust to taste. The matcha adds a subtle bitterness that complements the filling’s sweetness.
Crafting the Matcha-Infused Filling
For the filling, choose between whipped cream or a creamy custard. Make sure to add more matcha powder to boost the green tea flavor. The creamy filling will match the crepes’ thin, delicate texture, creating a perfect mix of flavors and textures.
With attention to detail, you can turn a French crepe cake into a stunning Japanese dessert. It’s perfect for a tea party or a special treat. This Japanese crepe cake will quickly become a favorite.
Time-Saving Tips and Make-Ahead Strategies
As a busy home cook, I know how important it is to save time. Making a crepe cake can be a challenge, but there are ways to make it easier. By preparing parts of the cake ahead of time, you can cut down on the work needed on the day you assemble it.
One great tip is to make the crepe batter early. Just mix the ingredients, cover, and chill it for up to 24 hours. This lets the batter rest, making your crepes thin and even. You can also prepare the fillings ahead of time and keep them in the fridge until you’re ready.
For assembling, cutting the crepes to size before layering saves time. You won’t have to trim each one. You can even put the whole cake together early, cover it, and chill it until serving time. Just remember to let the cake warm up to room temperature before decorating and serving. This ensures it tastes and feels its best.


