As I stood in the kitchen, the smell of rich chocolate filled the air. I knew I was about to make a truly decadent treat. Chocolate mousse cake is my go-to indulgence, taking me to a world of smooth chocolate with every bite. Today, I’m excited to share how to make the perfect homemade chocolate mousse cake. It’s a dessert that will wow your guests.
Table of Contents
Understanding the Magic of Chocolate Mousse Cake
Chocolate mousse cake is a favorite French pastry loved by many. It comes from France’s long tradition of making rich desserts. Over the years, French chefs have mastered the art of making mousses.
History of Mousse in French Pastry
The word “mousse” means “foam” in French. This shows the light and airy texture of this dessert. In the 18th century, French chefs started using egg whites and cream to make these fluffy treats.
Soon, bakers added mousse to cakes. They wanted to add the special feel and taste it brings. Chocolate mousse cake became famous for its mix of smooth chocolate and light whipped cream.
Why This Dessert Stands Out
Chocolate mousse cake is special because of its texture and taste. It has a moist chocolate cake, creamy mousse, and whipped cream frosting. Together, they create a perfect mix of flavors and textures.
- The cake base is solid, while the mousse is airy and rich.
- The whipped cream frosting adds a light touch, balancing the chocolate.
- This makes a dessert that excites your senses with every bite.
Chocolate mousse cake is perfect for fancy dinners or cozy nights. Its French roots and unique taste make it a favorite. It’s a true gem in the world of French pastry and mousse cakes.
Essential Ingredients for Your Perfect Chocolate Mousse Cake
Making a rich chocolate mousse cake needs the right ingredients. At its core, the chocolate mousse cake ingredients are key. They help get the perfect texture and taste.
The base of a great chocolate mousse cake is top-notch chocolate. You can choose from dark, milk, or a mix. It’s important to pick high-quality chocolate for a smooth, creamy filling. Choose chocolate with at least 60% cocoa for the best taste.
- Unsweetened or bittersweet chocolate: This gives the mousse its deep, rich chocolate flavor.
- Heavy cream: Whipped to soft peaks, it adds a luxurious feel and helps the mousse stay stable.
- Eggs: Both yolks and whites are essential for the mousse’s structure and richness, adding creaminess and volume.
- Sugar: A bit of granulated sugar balances the chocolate’s bitterness and adds sweetness.
- Vanilla extract: A small amount of pure vanilla enhances the chocolate flavor and adds depth to the taste.
| Ingredient | Quantity | Purpose |
|---|---|---|
| Bittersweet chocolate | 8 oz | Provides the rich, chocolatey flavor |
| Heavy cream | 2 cups | Adds creaminess and stability to the mousse |
| Egg yolks | 4 | Contributes to the rich, velvety texture |
| Granulated sugar | 1/2 cup | Sweetens and balances the bitterness of the chocolate |
| Vanilla extract | 1 tsp | Enhances the overall flavor profile |
By choosing and mixing these chocolate mousse cake ingredients carefully, you can make a decadent cake. It will impress your guests and satisfy their taste buds.
Kitchen Tools and Equipment You’ll Need
Baking a delicious chocolate mousse cake needs a well-stocked kitchen. You’ll need basic baking tools to start. But, having extra equipment can make the process smoother and more fun. Let’s explore the must-haves and the nice-to-haves that can improve your baking experience.
Must-Have Baking Tools
- Springform pans: These pans have removable sides, making it easy to get the cake out. They’re key for a perfect chocolate cake base.
- Electric hand mixer or stand mixer: A strong mixer is essential for whipping cream and mixing mousse. It helps achieve a light and airy texture.
- Mixing bowls: You’ll need different bowls for separating ingredients, whipping cream, and putting the cake together.
- Spatula: A flexible spatula is vital for smoothing the mousse, frosting the cake, and getting a pro finish.
- Offset spatula: This tool is great for spreading mousse between cake layers and smoothing the top and sides of the cake.
Optional but Helpful Equipment
While not necessary, these tools can make baking a chocolate mousse cake easier and more fun:
- Food processor: It’s useful for chopping chocolate and other ingredients finely. This ensures a smooth mousse texture.
- Piping bags and tips: They let you add fancy touches like rosettes or swirls to the cake’s top and sides.
- Cake turntable: It helps you apply frosting evenly and get a smooth, pro finish.
- Cake leveler: This tool can slice your cake layers horizontally. It makes them even and flat for easy stacking.
- Cake decorating brushes: They’re good for applying a glaze or mirror-like shine to the cake’s top.
With the right baking tools and cake-making equipment, you’re ready to make a stunning and tasty chocolate mousse cake.
Preparing the Perfect Chocolate Cake Base
Making the perfect chocolate cake base is key to a delicious chocolate mousse cake. To get a rich, moist chocolate cake, follow these steps:
- Preheat your oven to 350°F (175°C) and grease your cake pans with butter or non-stick cooking spray.
- In a large mixing bowl, whisk together chocolate cake base ingredients like all-purpose flour, unsweetened cocoa powder, baking soda, and salt.
- In another bowl, mix softened butter and granulated sugar until light and fluffy. Add eggs one at a time, then vanilla extract.
- Mix the dry ingredients into the wet ingredients, adding milk or buttermilk a little at a time. Stop mixing when just combined to avoid a tough cake.
- Split the batter evenly in your prepared pans and bake for 30-35 minutes. The cake is done when a toothpick comes out clean.
- Let the cakes cool completely on a wire rack before you start making your chocolate mousse cake.
By following these steps, you’ll get a moist chocolate cake base. This base is perfect for the rich chocolate mousse filling. It makes for a truly indulgent dessert.
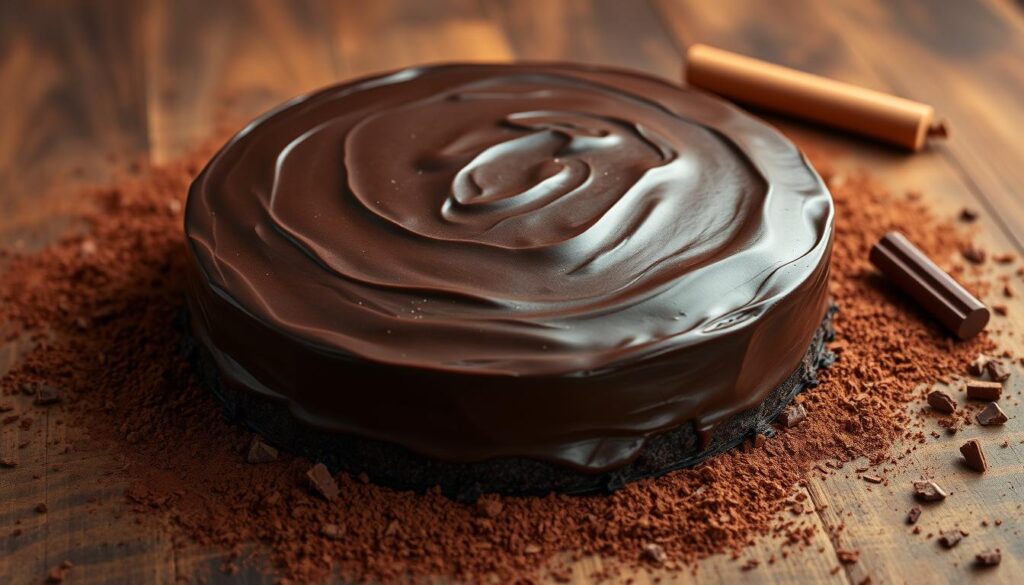
“The key to a perfect chocolate cake base is striking the right balance between moisture and structure. With a few simple techniques, you can achieve a cake that’s both decadent and sturdy enough to support the mousse filling.”
| Ingredient | Amount |
|---|---|
| All-purpose flour | 2 cups |
| Unsweetened cocoa powder | 3/4 cup |
| Baking soda | 1 teaspoon |
| Salt | 1/2 teaspoon |
| Unsalted butter, softened | 1 cup |
| Granulated sugar | 2 cups |
| Eggs | 4 |
| Vanilla extract | 2 teaspoons |
| Milk or buttermilk | 1 cup |
Mastering the Chocolate Mousse Filling
Making the perfect chocolate mousse filling is key to a great cake. It’s all about picking the right chocolate and mastering the whipping. This will give you the perfect texture and taste.
Choosing the Right Chocolate
For a rich, velvety chocolate mousse filling, choose high-quality dark chocolate. It should have at least 70% cocoa content. This ensures a deep, intense chocolate flavor that complements the mousse’s lightness.
Proper Whipping Techniques
Whipping the chocolate mousse to the right consistency is important. Start by melting the chocolate over a double boiler. Then, let it cool a bit. Fold in whipped cream gently, avoiding overmixing.
This way, you get a silky, whipped chocolate mousse that’s light but holds its shape.
With the right chocolate and whipping techniques, you’ll make a chocolate mousse filling that will wow everyone. Your homemade cake will be a real showstopper.
Creating the Whipped Cream Frosting Layer
To make your chocolate cake with whipped cream frosting even better, focus on a stable and tasty whipped cream topping. The stabilized whipped cream adds a light and airy touch. It perfectly matches the rich chocolate mousse inside, creating a perfect mix of tastes and textures.
First, chill your mixing bowl and beaters in the fridge for 30 minutes. This step is important for getting the cream stiff and spreadable. Next, pour heavy whipping cream into the bowl and beat it on medium-high until it’s soft. Then, add powdered sugar and vanilla extract slowly while you keep beating. Keep going until the cream is stiff and holds its shape well.
- Use high-quality heavy whipping cream for best results
- Chill all equipment to ensure optimal whipping
- Gradually add powdered sugar and vanilla for a sweet, flavored whipped cream
To keep the whipped cream stable, gently mix in a tablespoon of unflavored gelatin that’s been softened in cold water. This step is key to keeping the frosting firm and preventing it from getting too runny or watery.
| Ingredient | Amount |
|---|---|
| Heavy Whipping Cream | 2 cups |
| Powdered Sugar | 1/2 cup |
| Vanilla Extract | 1 teaspoon |
| Unflavored Gelatin | 1 tablespoon |
With a whipped cream frosting that’s both stable and delicious, you’re almost there. You’re on your way to making a stunning chocolate cake with whipped cream frosting. It’s sure to wow your guests and satisfy their sweet cravings.
Step-by-Step Assembly Guide for Chocolate Mousse Cake
Building a chocolate mousse cake might seem hard, but it’s doable with the right steps. Here’s how to make a stunning and tasty dessert. Follow this guide to master the chocolate cake assembly and layering.
Layering Tips and Tricks
The secret to a great chocolate mousse cake is in the layering. Here’s what you need to know:
- Begin with a level, cooled chocolate cake base. It’s the base for all your layers.
- Spread a thick layer of chocolate mousse on the cake base. Make sure it’s even.
- Put a thin layer of whipped cream frosting on top of the mousse. It binds the layers and adds smoothness.
- Keep adding mousse and frosting layers until you reach your desired height.
- End with a layer of whipped cream frosting on top and sides of the cake.
Preventing Common Assembly Mistakes
While assembling, there are a few mistakes to watch out for:
- Make sure the cake base is completely cooled before starting. This prevents the mousse from melting.
- Temper the chocolate for the mousse to get a smooth, creamy texture.
- Whip the cream just right. It should be stiff but not too stiff or too soft.
- Use a sharp knife or cake leveler to level each layer. This gives a clean finish.
- Chill the cake for at least 4 hours, or better yet, overnight. This lets the layers set well.
By using these tips and avoiding common mistakes, you’ll make a chocolate cake assembly that’s both beautiful and delicious.
Decorating Techniques for a Professional Finish
Take your homemade chocolate mousse cake to the next level with various decorating techniques. Whether you want a simple yet elegant look or a stunning centerpiece, these tips will guide you. You’ll achieve a polished, professional finish.
Chocolate Shavings and Curls
Adding chocolate shavings or curls is a simple yet effective way to enhance your cake’s look. Use a vegetable peeler or a chocolate shaver to create thin, delicate shards from a chocolate bar. Place these shavings around the cake’s top and sides for a stunning layered effect.
Ganache Drips and Glazes
To get a professional drip effect, pour a thin layer of chocolate ganache around the cake’s edges. Let it drip down the sides for a beautiful, cascading look. For a glossy finish, cover the cake with a smooth ganache or shiny chocolate glaze.
- Try different chocolate types for unique flavors and textures.
- Chill the cake before adding ganache drips for a cleaner look.
Piped Decorations
Enhance your cake with detailed piped designs using a pastry bag and various tips. Pipe swirls, rosettes, or lace patterns around the cake. You can also use piped designs for borders, accents, or messages.
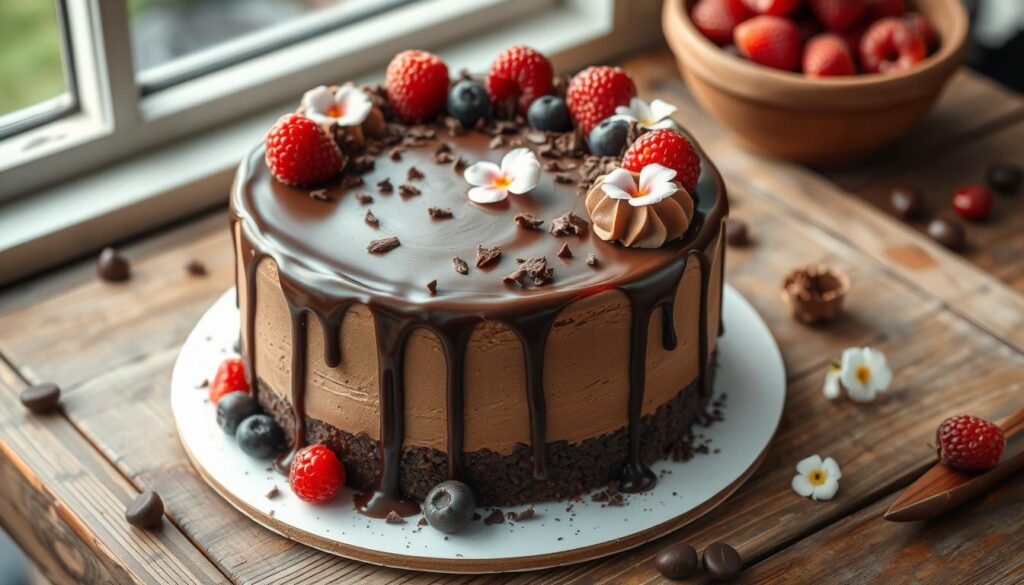
Mastering these cake decorating techniques and chocolate garnishes will turn your homemade chocolate mousse cake into a showstopper. Let your creativity flow and enjoy making a visually stunning masterpiece.
Storage and Serving Temperature Guidelines
Keeping your homemade chocolate mousse cake fresh is key. It ensures the cake stays rich in flavor and creamy. Follow these tips to keep your dessert perfect.
Proper Refrigeration Methods
Chill your chocolate mousse cake in the fridge. After it’s put together, place it on a platter or cake stand. Cover it loosely with plastic wrap or a cake dome.
This prevents the mousse from drying out. It also keeps it from picking up bad smells or tastes from the fridge.
Your cake can stay in the fridge for up to 5 days. Make sure it’s away from foods with strong smells. This helps keep the chocolate’s delicate flavor.
Best Serving Practices
Serve your cake chilled, straight from the fridge. Use a sharp knife to cut it. Clean the blade between cuts for neat slices.
Use a cake lifter or spatula to put slices on dessert plates. Add a dollop of whipped cream or a sprinkle of cocoa powder for a fancy touch.
Proper storage and serving will make sure your guests love every bite of your chocolate masterpiece.
| Refrigeration Time | Serving Temperature |
|---|---|
| Up to 5 days | Chilled, directly from the refrigerator |
Troubleshooting Common Issues
Baking a chocolate mousse cake is fun, but sometimes problems arise. Don’t worry, our guide will help you fix any mousse cake problems. This way, your cake will always be perfect.
Preventing a Collapsed Cake
A common problem with chocolate mousse cakes is when they sink in the middle. This can happen for a few reasons:
- Overbaking the cake layer
- Insufficient structure in the cake batter
- Cooling the cake too quickly
To fix cake issues like this, carefully follow the recipe. Use the right pan size and cool the cake slowly on a wire rack before assembling the mousse.
Achieving the Perfect Mousse Consistency
If your chocolate mousse doesn’t set right, it might be because of a few things:
- Insufficient whipping of the cream or egg whites
- Incorrect chocolate-to-cream ratio
- Overmixing the mousse once the ingredients are combined
To get the right texture for your mousse cake, pay attention to how you whip the ingredients. Stick to the recipe’s proportions and gently fold the ingredients together.
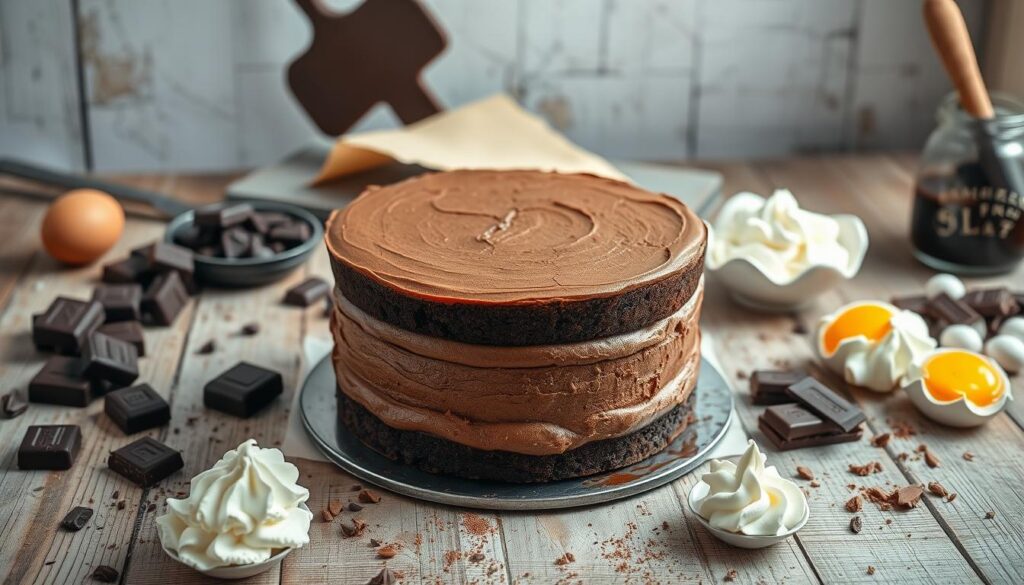
By tackling these common mousse cake problems and using the right fixing cake issues techniques, you’ll make a stunning chocolate mousse cake. It will wow your guests and satisfy your sweet cravings.
Variations and Flavor Combinations
The classic chocolate mousse cake is a timeless treat. But, you don’t have to stick to the traditional recipe. Exploring different flavors can make this dessert even more special. You can enhance the classic taste or add a modern twist.
Classic Flavor Enhancements
For those who love the traditional taste, there are ways to make it even better. Adding a bit of espresso powder to the batter can deepen the chocolate flavor. Or, infusing the mousse with a hint of orange zest can add a citrusy twist. You can also try adding peppermint or hazelnut for a delightful contrast.
Modern Twists on Traditional Recipe
Feeling adventurous? Try some new flavor combinations. Imagine a chocolate mousse cake with a layer of salted caramel or a swirl of raspberry puree. For a unique twist, add a touch of chili pepper or a sprinkle of crushed nuts to the mousse. The possibilities are endless, and the results are amazing.
The secret to a great chocolate mousse cake variation is balance. Experiment with different ingredients and find the perfect mix that excites your taste buds.
Make-Ahead Tips and Timing Strategies
Making a rich chocolate mousse cake is a fun task. With smart make-ahead tips, you can make it easier and enjoy it more. By preparing parts of the dessert ahead of time, you’ll have more time to focus on the details. This way, you’ll impress your guests with a fantastic dessert.
Baking the chocolate cake base is a great first step. You can do this up to a week before, wrapped well and kept at room temperature. The chocolate mousse can be made a day or two early, then chilled until it’s time to put it together. But, the whipped cream frosting is best made just before, so it stays light and fluffy.
For a smooth baking process, stay organized. Make a detailed plan, setting aside specific times for each part of the cake. This keeps you on track and makes assembling the cake easy. Don’t forget to include time for the cake to cool and the mousse and frosting to set.
| Component | Make-Ahead Timeline |
|---|---|
| Chocolate Cake Base | Up to 1 week in advance |
| Chocolate Mousse Filling | 1-2 days in advance |
| Whipped Cream Frosting | Day of assembly |
Using these make-ahead desserts and time management for baking tips, you’ll enjoy making your chocolate mousse cake. With a bit of planning, you can relax and enjoy the baking and presentation. This way, you’ll be ready to entertain your guests with confidence.
Pairing Your Chocolate Mousse Cake with Beverages
Enjoying a rich chocolate mousse cake is even better with the right drink. Whether you like a boozy drink or something bubbly, there’s a perfect match for this dessert. Drinks can enhance the chocolatey taste of your cake.
Alcoholic Pairings
For a grown-up twist, try a port or a sweet dessert wine like Madeira or Sherry. These drinks balance the cake’s richness with their sweetness. A full-bodied red wine, like Cabernet Sauvignon or Malbec, also pairs well.
Non-Alcoholic Options
For those who don’t drink, a strong coffee or a creamy mocha is great. The coffee’s bitterness balances the cake’s sweetness. Or, a cold glass of milk, regular or plant-based, is a classic choice. It lets the chocolate take center stage.
Experiment to find the best dessert pairings for your homemade chocolate mousse cake. The right drinks with chocolate cake can make your dessert experience unforgettable.
Health Considerations and Dietary Modifications
Enjoying the rich chocolate mousse cake is great, but think about your health and diet. You can make changes to the recipe to keep it tasty and healthy. This way, everyone can enjoy it, no matter their dietary needs.
For those with gluten sensitivities, swapping the flour for a gluten-free blend is easy. This ensures everyone can savor the chocolate. Vegans and those avoiding dairy can use plant-based milk and cream. Options like unsweetened almond or oat milk work well for a dairy-free version.
Watching your sugar intake? You can cut down on sugar or use natural sweeteners like honey or maple syrup. These options add sweetness without raising blood sugar. Adding ingredients like avocado or Greek yogurt can also make the chocolate mousse healthier.


1 thought on “Rich Homemade Chocolate Mousse Cake – Perfect Dessert”