I’ve always loved making red velvet cakes at home. My grandmother’s red velvet bundt cake was a family favorite. It was moist, flavorful, and topped with tangy cream cheese frosting.
Now, I’m excited to share a foolproof recipe with you. It captures the essence of this beloved dessert.
Table of Contents
The Perfect Red Velvet Bundt Cake: A Classic Dessert Made Simple
Red velvet cake has a rich history, starting in the early 20th century. It was first loved in the South but soon became popular everywhere. Today, its red velvet cake history is a story of how food has evolved.
History of Red Velvet Cake
The first red velvet cake was served at the Waldorf-Astoria hotel in New York in the 1920s. Its red color came from cocoa powder and a special chemical reaction. Later, artificial colors made the cakes even more vibrant.
Why Choose a Bundt Pan Version
Baking red velvet cake in a bundt pan has many benefits. The pan’s shape ensures the cake bakes evenly, making it moist and flavorful. Plus, the cake’s ring shape looks amazing, perfect for showing off.
“The bundt pan’s distinctive ring shape creates a stunning presentation, making it the perfect vessel for this classic dessert.”
Essential Ingredients for a Rich and Moist Texture
Making a delicious red velvet bundt cake starts with picking the right ingredients. The secret to a moist and rich cake is in the mix of these key parts:
- High-quality all-purpose flour, sifted for a light crumb
- Unsweetened cocoa powder, Dutch-processed for deep chocolate taste
- Granulated sugar, adds sweetness and balances buttermilk tartness
- Buttermilk, adds tangy richness and tenderizes the cake
- Vegetable oil, makes the cake moist and fresh for longer
- Eggs, bind ingredients and add structure
- Vanilla extract, adds a delightful aroma and flavor
- Red food coloring, gives the cake its signature red color (or use natural alternatives)
By mixing these red velvet cake ingredients carefully, you can make a moist and tasty bundt cake. Use fresh, high-quality ingredients for the best taste.
| Ingredient | Amount | Purpose |
|---|---|---|
| All-purpose flour | 2 cups | Provides structure and texture |
| Unsweetened cocoa powder | 2 tablespoons | Imparts the classic red velvet flavor |
| Granulated sugar | 1 1/2 cups | Sweetens the cake and tenderizes the crumb |
| Buttermilk | 1 cup | Adds moisture and a tangy flavor |
| Vegetable oil | 1/2 cup | Contributes to the moist cake texture |
| Eggs | 2 large | Binds the ingredients and adds structure |
| Vanilla extract | 2 teaspoons | Enhances the overall flavor profile |
| Red food coloring | 2 tablespoons | Gives the cake its signature red velvet hue |
Kitchen Tools and Equipment You’ll Need
Baking a delicious red velvet bundt cake needs the right tools and equipment. You’ll need the perfect bundt pan and essential mixing and measuring tools. Let’s look at what you’ll need for success.
Choosing the Right Bundt Pan
The first and most important piece is the bundt pan. When picking a bundt pan, think about size, material, and design. Choose a high-quality, non-stick pan that fits your cake size. A pan with cool patterns or shapes will make your cake look amazing.
Must-Have Mixing Tools
You’ll need a reliable hand mixer or stand mixer for easy mixing. These baking tools help get the batter just right. A strong spatula or wooden spoon is key for mixing everything well.
Measuring Equipment
- Liquid measuring cups for accurate liquid ingredient measurements
- Dry measuring cups for precise dry ingredient portions
- A set of measuring spoons for meticulous seasoning and flavoring
Getting the measurements right is key for a moist and tasty red velvet bundt cake. Get good measuring tools to make sure your cake is perfect every time.
With the right bundt pan selection and baking tools, you’re ready to make a stunning red velvet bundt cake. It will impress your family and friends.
Tips for Perfect Bundt Pan Preparation
To get a beautifully baked red velvet bundt cake, you need to prepare the pan right. It’s all about bundt pan greasing and cake release techniques. These steps help your cake come out smoothly.
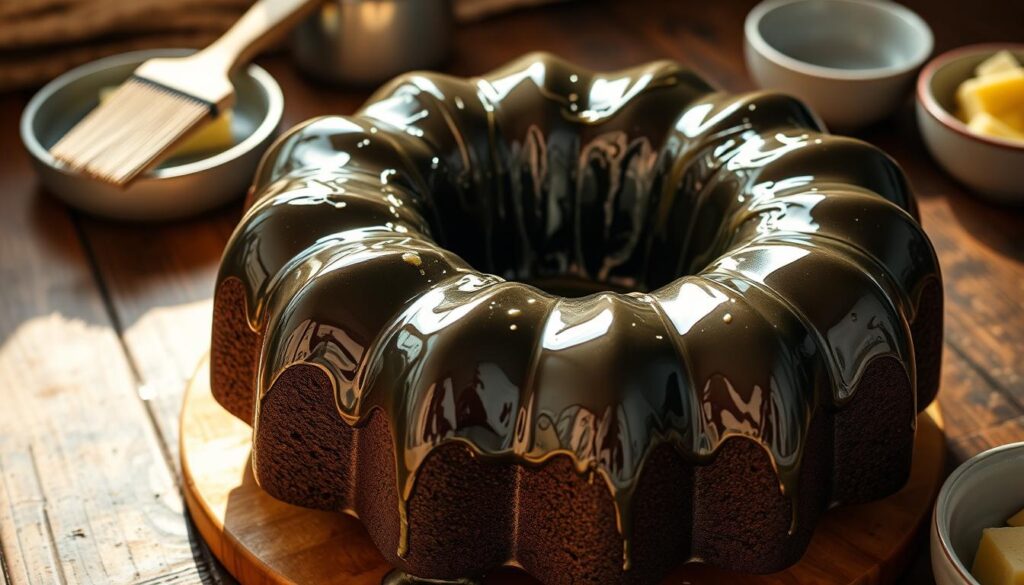
Start with a good non-stick bundt pan. It makes greasing easier. Coat the pan with baking spray that has flour, or mix melted butter and flour. Make sure to cover every part well.
- Preheat your oven to the right temperature before baking.
- For extra protection, dust the greased pan with cocoa powder or flour. Tap off any extra.
- Some people use shortening or butter, then flour, for extra protection.
With the right pan prep, your red velvet cake will look great and come out easily. A bit of effort at the start makes a big difference.
| Greasing Method | Key Benefits |
|---|---|
| Baking Spray with Flour | Easy application, covers well |
| Homemade Butter and Flour | Customizable, affordable, works well |
| Shortening or Butter + Flour | Extra protection |

“Proper pan preparation is the foundation for a successful bundt cake. Take the time to get it right, and you’ll be rewarded with a show-stopping dessert.”
Creating the Perfect Red Velvet Color
The vibrant, rich red color is key to a classic red velvet cake. Getting this color right is tricky. You want the food coloring to enhance the taste without overpowering it. Let’s look at how to get that stunning red velvet color in your homemade bundt cake.
Natural vs. Artificial Food Coloring
You can use natural or artificial food coloring for your red velvet cake. Natural coloring, like beet or fruit juices, adds a subtle, earthy tone. Artificial dyes, on the other hand, give a vibrant, bold red that’s closer to the traditional look.
Choosing between natural and artificial coloring depends on what you prefer and your dietary needs. Natural colorings are good for those avoiding synthetic ingredients. Artificial dyes offer a consistent, reliable red color.
Achieving the Right Shade
Getting the perfect red velvet color takes some trial and error. Start with a few drops of coloring and add more until you get the right shade. Be careful not to add too much, as it can make the cake taste bitter.
If the color isn’t intense enough, try adding a bit of cocoa powder. Mixing red coloring with cocoa powder can deepen the red velvet color. Just remember to adjust the other dry ingredients to keep the cake’s texture right.
With a bit of practice, you’ll nail the perfect red velvet color for your homemade bundt cake. The secret is finding the right mix of natural and artificial coloring for that classic, eye-catching look.
Step-by-Step Mixing Instructions
Making the perfect red velvet bundt cake batter is a fun process. It involves precise measurements and careful technique. To get that rich, moist texture, follow these steps for mixing the cake.
- Start by heating your oven to 350°F (175°C). Grease your bundt pan with butter or non-stick spray. This makes sure the cake comes out easily.
- In a big mixing bowl, mix the dry ingredients. These are flour, cocoa powder, baking soda, and salt. Whisk them until they’re well mixed. This helps the cake stay tender.
- Then, in another bowl, mix the softened butter and sugar until it’s light and fluffy. This step adds air to the red velvet cake mixing batter, making it moist and soft.
- Slowly add the eggs, one at a time. Beat well after each egg. This helps the batter mix together smoothly.
- Next, add the buttermilk and red food coloring slowly. Mix until the batter is the right batter preparation and color. Don’t overmix, as it can make the cake tough.
- Lastly, fold in the dry ingredients gently. Make sure not to overmix and lose the air in the batter.
With these steps, you’re ready to make a delicious red velvet bundt cake. The secret to success is in the careful red velvet cake mixing and attention to detail during batter preparation.
Secrets to the Perfect Cream Cheese Filling
Making the perfect cream cheese filling for your bundt cake is a fun skill. It’s all about getting a smooth, creamy texture that goes well with the moist red velvet cake. There are a few important steps to follow.
Filling Consistency Tips
The secret to a rich cream cheese filling is the right mix of ingredients. First, make sure your cream cheese is soft and at room temperature. This makes it easy to mix with the other ingredients.
Slowly add powdered sugar, vanilla extract, and a bit of salt. Keep mixing until it’s light and fluffy. But don’t overdo it, or it might get grainy.
Layering Techniques
To get a beautiful swirl of bundt cake filling cream cheese, layer the batter and filling carefully. Start by putting half the red velvet cake batter in the pan. Then, add the cream cheese swirl on top.
Finish with the rest of the cake batter. Use a knife or spatula to swirl the filling into the cake. This creates a stunning spiral design.
| Ingredient | Quantity |
|---|---|
| Cream Cheese, softened | 8 oz |
| Powdered Sugar | 1/2 cup |
| Vanilla Extract | 1 tsp |
| Salt | 1/4 tsp |
With these tips, you’ll make a bundt cake filling cream cheese that looks great and tastes amazing. Enjoy making the creamy filling swirl into your homemade red velvet bundt cake. It’s a dessert experience you won’t forget.
Baking Time and Temperature Guidelines
Baking the perfect red velvet bundt cake needs careful attention to oven temperature and time. To get the right moist texture and deep color, follow these key guidelines.
For a standard 10-inch bundt pan, preheat your oven to 350°F (175°C). The cake will bake for 60-70 minutes. This time can vary based on your oven and the bundt pan’s material.
- If using a dark, nonstick bundt pan, the baking time may be slightly shorter, around 55-65 minutes.
- For a lighter-colored, traditional metal bundt pan, the cake may require 60-70 minutes of baking time.
To bake evenly, rotate the pan halfway through. Watch the cake closely, as oven temperatures can differ. The cake is ready when a toothpick inserted into the center comes out clean.
| Pan Material | Oven Temperature | Baking Time |
|---|---|---|
| Dark, Nonstick Bundt Pan | 350°F (175°C) | 55-65 minutes |
| Traditional Metal Bundt Pan | 350°F (175°C) | 60-70 minutes |
Remember, these guidelines are just a starting point. Always watch your bundt cake closely. Adjust the baking time and temperature as needed to get the perfect bundt cake baking time and oven temperature for your oven and pan.
Creating the Signature Cream Cheese Frosting
No red velvet bundt cake is complete without the signature cream cheese frosting. This rich, tangy topping is the perfect complement to the deep, chocolatey flavor of the cake. To create the perfect cream cheese frosting, follow these essential tips.
Frosting Consistency Tips
The key to a silky-smooth cream cheese frosting is achieving the right consistency. Start by allowing the cream cheese and butter to come to room temperature for at least 30 minutes before mixing. This will ensure a lump-free, creamy texture. When beating the ingredients, be sure not to overmix, as this can cause the frosting to become grainy. The ideal consistency should be thick yet spreadable, with a light and airy feel.
Decoration Techniques
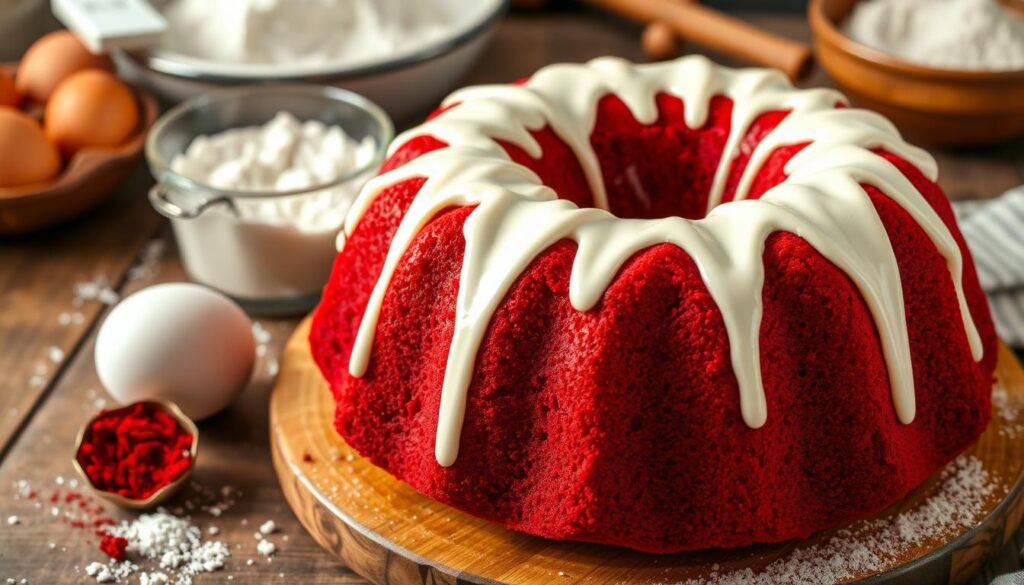
Once your cream cheese frosting is ready, it’s time to get creative with the decoration. A classic choice is to simply spread the frosting over the top of the bundt cake, allowing it to drip down the sides for a rustic, homemade look. For a more polished presentation, consider piping the frosting using a star or round tip. This will give your nothing bundt cake icing recipe a professional bakery-style finish. Garnish with chopped nuts, shredded coconut, or a light dusting of cocoa powder for an extra special touch.
| Ingredient | Amount |
|---|---|
| Cream Cheese | 24 oz (3 packages) |
| Unsalted Butter | 1 cup (2 sticks) |
| Powdered Sugar | 4 cups |
| Vanilla Extract | 2 tsp |
With these tips and techniques, you’ll be able to create a cream cheese frosting that perfectly complements your delicious red velvet bundt cake.
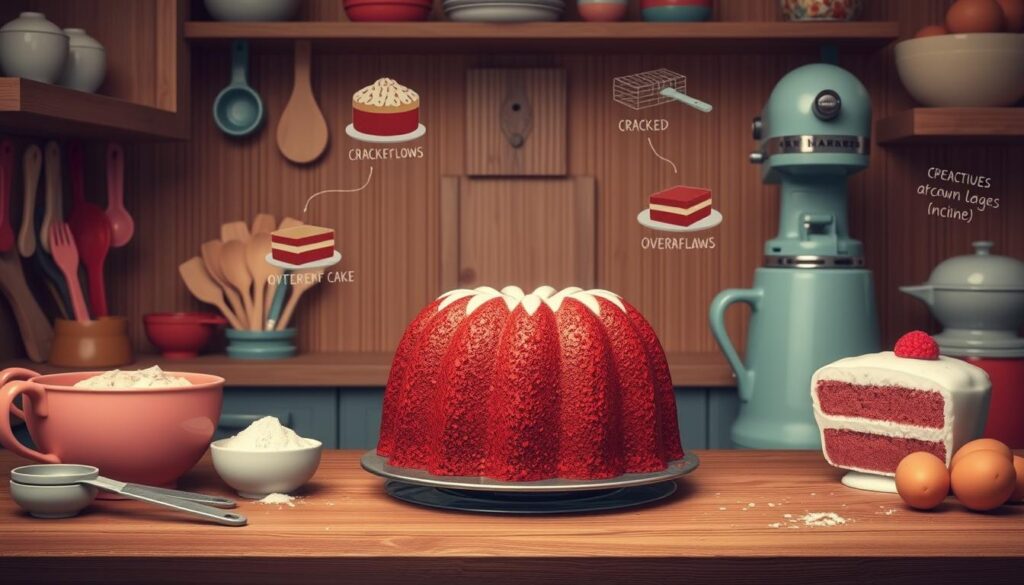
Troubleshooting Common Baking Issues
Baking a delicious red velvet bundt cake can sometimes be tricky. But don’t worry, I’ve got you covered! Let’s look at some common cake troubleshooting tips to make sure your baking always turns out right.
One big problem is when the cake sticks to the pan. This makes it hard to get it out evenly. To avoid this, make sure to grease and flour the bundt pan well before adding the batter. Also, let the cake cool completely in the pan before trying to flip it onto a plate.
Another issue is when the cake bakes unevenly. The center might be underdone while the edges are dry. To fix this, check that your oven temperature is right. You might also want to use a cake strip or baking belt around the pan’s edge.
It’s also frustrating when the cake turns out dry and crumbly. The main thing to avoid is overbaking. Set a timer and check the cake a few minutes before it’s supposed to be done. Also, make sure to measure your ingredients carefully and mix them well.
- Prevent sticking by thoroughly greasing and flouring the bundt pan
- Allow the cake to cool completely before inverting to prevent breakage
- Use a cake strip or baking belt to promote even baking
- Avoid overbaking to prevent a dry, crumbly texture
- Measure ingredients precisely and mix thoroughly
With these cake troubleshooting tips, you’ll be on your way to baking problems-free red velvet bundt cake perfection. Happy baking!

Storage and Serving Recommendations
Keeping your homemade red velvet bundt cake fresh and flavorful is essential. The right storage methods can help it last longer. Thoughtful serving ideas can also make it look great for any event.
Storing Your Red Velvet Bundt Cake
After your cake cools down, it’s important to store it right. This keeps it moist and velvety. Here are some tips for bundt cake storage:
- Store the cake covered at room temperature for up to 4 days. Use an airtight container or cake dome to keep it fresh.
- For longer storage, refrigerate the cake for up to 1 week. Wrap it tightly in plastic wrap or foil to avoid drying.
- Freeze the cake for up to 3 months. Wrap it in multiple layers of plastic wrap or foil, then put it in an airtight container or freezer bag.
Serving Suggestions
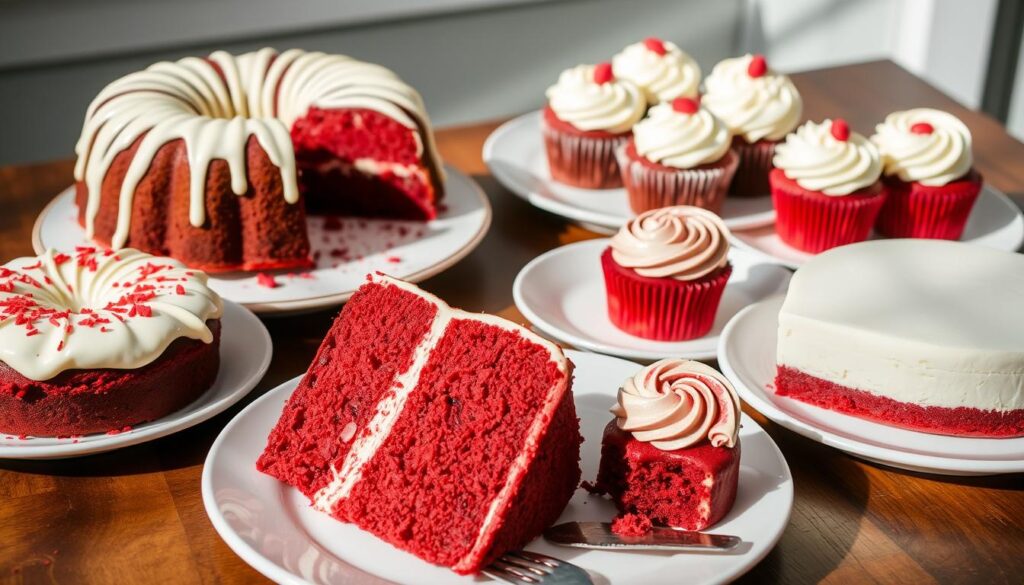
The classic red velvet bundt cake is a stunning dessert. It can be served in many ways. Here are some delicious serving suggestions:
- Slice and serve the cake as-is, showing off its beautiful ring shape and vibrant color.
- Top slices with a dollop of freshly whipped cream or a scoop of vanilla ice cream for a special treat.
- Drizzle the cake with a simple vanilla or cream cheese glaze for extra moisture and sweetness.
- Garnish with fresh berries, toasted nuts, or a dusting of powdered sugar for a beautiful presentation.
| Storage Method | Shelf Life |
|---|---|
| Room Temperature | Up to 4 days |
| Refrigerated | Up to 1 week |
| Frozen | Up to 3 months |
By following these simple storage and serving tips, your red velvet bundt cake will stay fresh and moist. It will be ready to impress your guests at any time.
Variations and Flavor Adaptations
The classic red velvet bundt cake is a timeless delight. But, there’s always room for creative twists and culinary exploration. Whether you’re looking to embrace the seasons or accommodate dietary preferences, the versatility of this cake knows no bounds.
Seasonal Twists
Embrace the flavors of the year by incorporating seasonal ingredients into your red velvet bundt cake. For a festive winter touch, try infusing the batter with peppermint extract and topping the cake with crushed candy canes. Springtime calls for a bright citrus twist, like adding freshly grated orange zest to the cream cheese frosting. As summer approaches, consider swirling in a touch of lavender or incorporating fresh berries into the filling.
Dietary Modifications
For those with dietary restrictions, red velvet bundt cake can be enjoyed. To create a gluten-free version, simply substitute the all-purpose flour with a high-quality gluten-free flour blend. Vegans can indulge in this classic treat by using plant-based milk and substituting the cream cheese frosting with a cashew-based alternative. Experiment with natural food colorings, such as beet or pomegranate juice, to achieve the signature red hue without artificial dyes.
| Variation | Ingredients |
|---|---|
| Peppermint Red Velvet Bundt Cake | – Peppermint extract – Crushed candy canes |
| Citrus Red Velvet Bundt Cake | – Orange zest – Lemon juice |
| Lavender Red Velvet Bundt Cake | – Dried lavender buds – Lavender extract |
| Gluten-Free Red Velvet Bundt Cake | – Gluten-free flour blend – Xanthan gum |
| Vegan Red Velvet Bundt Cake | – Plant-based milk – Cashew-based cream cheese |
With these creative variations and dietary adaptations, the possibilities for your red velvet bundt cake are truly endless. Experiment and find the perfect flavor profile to suit your taste and occasion.

Make-Ahead and Freezing Instructions
Freezing a freezing bundt cake or making it make-ahead desserts saves time. It ensures your red velvet bundt cake is ready when you want it. Follow a few easy steps to enjoy this classic dessert without the rush.
To prepare the cake ahead, bake it as instructed and let it cool. Wrap it tightly in plastic wrap or foil, ensuring no air pockets. You can also use an airtight container. Store it in the fridge for up to 5 days or freeze for up to 3 months.
When you’re ready to serve, thaw the cake in the fridge overnight. For quicker thawing, let it sit at room temperature for a few hours. After thawing, unwrap the cake and frost it with cream cheese frosting. Enjoy your freezing bundt cake or make-ahead desserts.
- Bake the red velvet bundt cake and let it cool completely.
- Wrap the unfrosted cake tightly in plastic wrap or foil and freeze for up to 3 months.
- Thaw the cake in the fridge overnight when you’re ready to serve.
- Prepare the cream cheese frosting and frost the thawed cake.
Mastering freezing bundt cake and make-ahead desserts lets you enjoy red velvet bundt cake anytime. It’s convenient and delicious, without the last-minute baking hassle.
Conclusion
In this guide, we’ve uncovered the secrets to making a fantastic red velvet bundt cake. It’s not just good-looking; it’s also incredibly moist. We’ve covered everything from the cake’s history to the best ingredients and how to prepare them.
This recipe is perfect for both experienced bakers and beginners. It combines rich cocoa, vibrant color, and a creamy frosting. It’s sure to wow your family and friends, making it the ultimate treat.
Give this recipe a try and enjoy making a dessert that’s both delicious and beautiful. With our detailed instructions and tips, you’ll make a cake that will be remembered. Enjoy the process, relish the outcome, and watch as everyone raves about your creation.


Awesome! Its genuinely remarkable post, I have got much clear idea regarding from this post